本文为旧博客迁移的文章
44 矩阵键盘,可以作为简单的控制器输入,能用于复杂的arduino控制。本文主要介绍如何驱动44矩阵键盘。
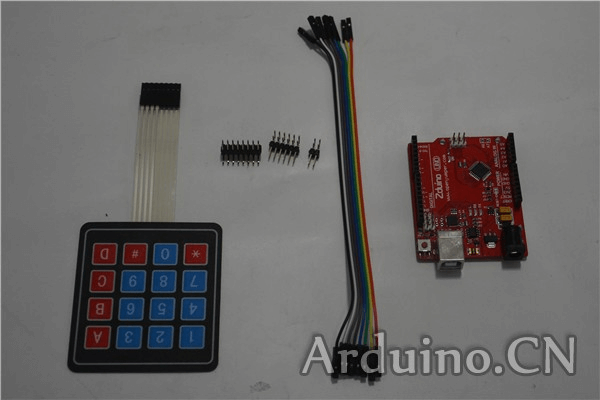
材料:
1
2
3
4
| 4*4矩阵键盘
Arduino Uno 1块
8P线
双排针或排针
|
简介:
这里简单介绍一种矩阵键盘的工作原理,4*4矩阵键盘有8个引脚,4个一组,分别对应行和列,通过按键扫描的方法,对不同行(列)分别输入高低电平,然后读取不同列(行)上的电平,从而知道键盘上的某一按键按下。
例如,当第1行输出低电平,其他行输出高电平,分别读取依次列上的状态,如果第1列为低,结果为(1,1),按键为1,如果第2列为低,则结果为(1,2)按键为2
安装:
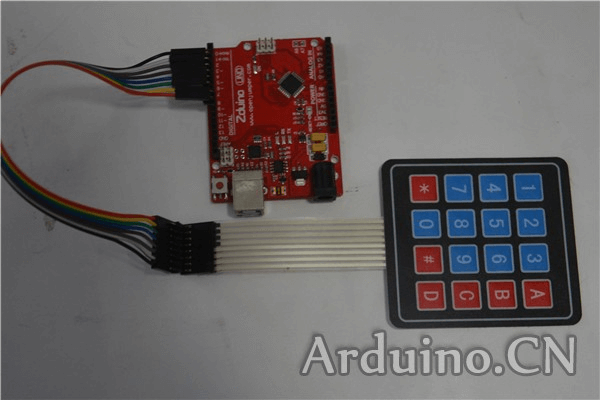
4*4矩阵键盘有一个8孔的排母,理论上可以直接插到0-7脚上,但0,1脚用于串口通信,所以只能选择2~13脚,这里选用了2-9脚。
首先,选取一个16 PIN 的双排针,将双排针长的那一排的一面引脚插到键盘排母里。
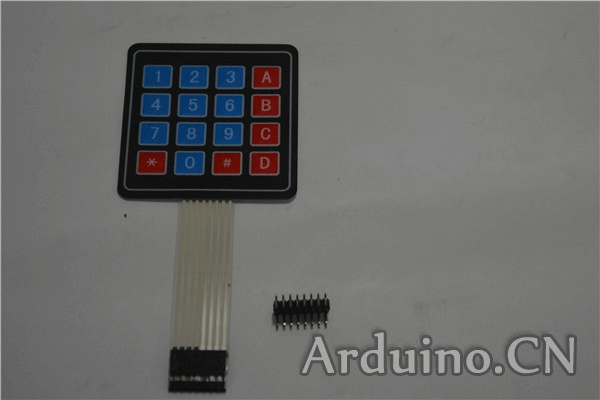
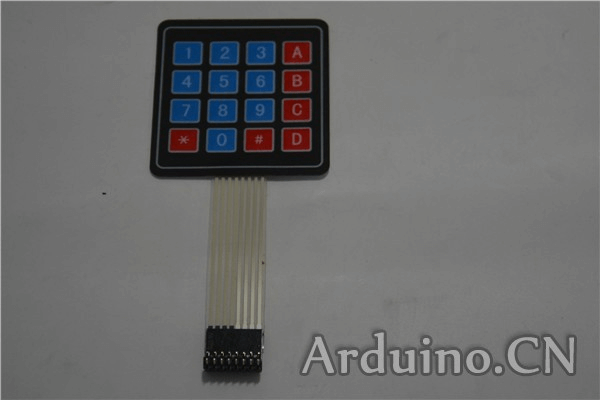
另一面插8P线,8P线另一头按键盘正面从左到右的顺序,线接2 PIN排针,再接5 PIN排针。
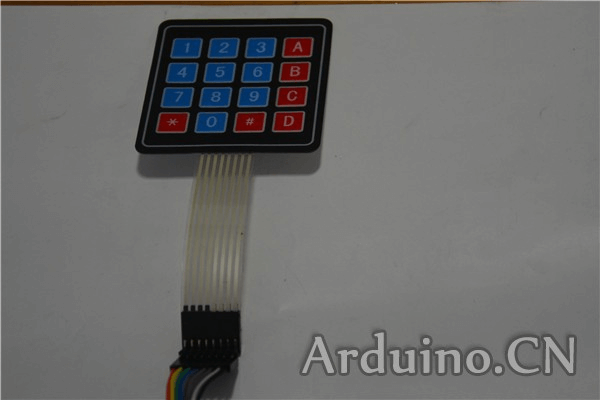
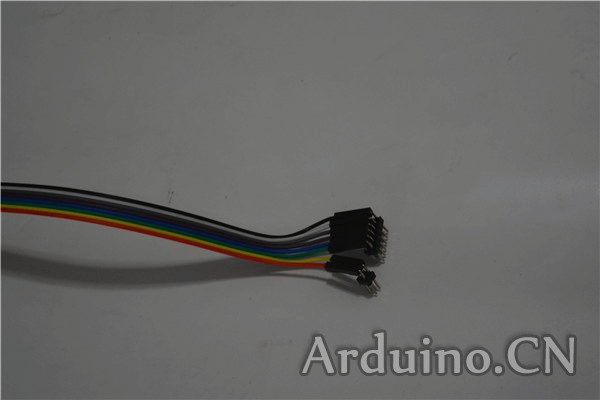
2 PIN 的排针插到Arduino的8,9脚,5 PIN 的排针插到2~5脚
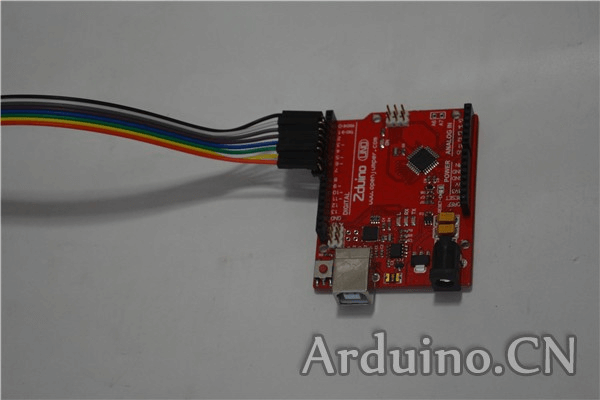
总的硬件电路
定义Arduino IO口
1
2
| byte rowPins[ROWS] = {9, 8, 7, 6};
byte colPins[COLS] = {5, 4, 3, 2};
|
示例程序
1
2
3
4
5
6
7
8
9
10
11
12
13
14
15
16
17
18
19
20
21
22
23
24
25
26
27
28
29
30
31
32
33
34
35
36
37
38
39
40
41
| #include <Keypad.h>
const byte ROWS = 4;
const byte COLS = 4;
char hexaKeys[ROWS][COLS] = { {
'1','2','3','A'
}
, {
'4','5','6','B'
}
, {
'7','8','9','C'
}
, {
'*','0','#','D'
}
}
;
byte rowPins[ROWS] = {
9, 8, 7, 6
}
;
byte colPins[COLS] = {
5, 4, 3, 2
}
;
Keypad customKeypad = Keypad( makeKeymap(hexaKeys), rowPins, colPins, ROWS, COLS);
void setup() {
Serial.begin(9600);
}
void loop() {
char customKey = customKeypad.getKey();
if (customKey) {
Serial.println(customKey);
}
}
|
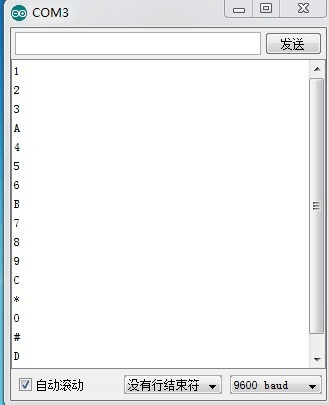
参考文章:
4*4矩阵键盘驱动@money0010
welcome to https://iwwee.com


